The Battle Against Warp: Why 3D Printing Brims Are a Necessary Evil
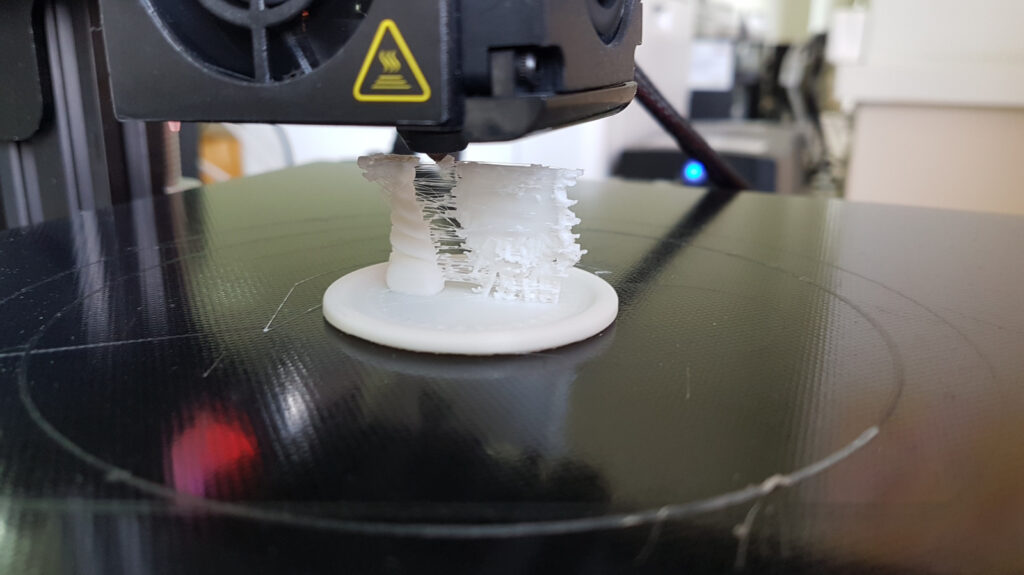
Table of Contents
The Physics of the First Layer
In the world of Fused Deposition Modeling (FDM), the first layer is the most critical point of failure. If a print doesn’t adhere perfectly to the build plate, the resulting project is often a tangled mess of plastic—a phenomenon known as ‘spaghetti’—or a warped base that renders a functional part useless. To combat this, enthusiasts and industrial engineers rely on a suite of adhesion helpers, the most versatile of which is the brim.
A brim acts as a sacrificial flange, extending outward from the base of the model to increase the surface area in contact with the print bed. By creating a wider footprint, the brim distributes the cooling stresses that naturally occur as plastic shrinks, effectively pinning the edges of the part down and preventing the corners from curling upward.
Brims vs. Rafts and Skirts
While often grouped together in slicer settings, brims serve a distinct purpose compared to rafts and skirts. A skirt is essentially a ‘prime’ run; it outlines the print area to ensure the extruder is flowing consistently before the actual model begins, but it never touches the part itself. A raft, conversely, is a thick, latticed platform that the entire model sits upon. While rafts provide superior adhesion for complex geometries with tiny contact points, they are filament-heavy and often leave a scarred finish on the bottom of the print.
Brims occupy the middle ground. They offer significantly more stability than a skirt but are far more efficient and faster to print than a raft. For most users, the brim is the go-to solution when a model has a narrow base or high verticality that makes it prone to wobbling as the print head moves.
When a Brim is Non-Negotiable
Not every project requires a brim, but certain materials make them mandatory. High-temperature plastics like ABS (Acrylonitrile Butadiene Styrene) and Nylon are notorious for high shrink rates. As these materials cool, they pull inward, often peeling away from the bed in a process called warping. In these cases, a brim is the first line of defense against a failed print.
Beyond material choice, geometry plays a massive role. Tall, slender objects—such as the legs of a miniature or a thin architectural pillar—possess very little inherent leverage against the bed. Without the added stability of a brim, the mechanical force of the nozzle can easily knock the part loose mid-print. Similarly, when printing on unheated glass or aluminum plates, the lack of thermal adhesion makes a brim essential to ensure the part remains seated.
The Hidden Cost of Stability
Despite their utility, brims aren’t a ‘set and forget’ feature. The primary drawback is the post-processing burden. Because the brim is physically attached to the model, it must be manually removed using a deburring tool, hobby knife, or sandpaper. For small parts, this is a negligible task; for large, complex models, removing a brim from intricate undercuts can be a tedious process that risks damaging the final piece.
There is also the issue of aesthetic compromise. If a project requires a perfectly clean, visible base, a brim can leave a slight ‘lip’ or scarred edge where it was detached. Furthermore, for those operating on a tight budget, the cumulative waste of sacrificial filament adds up. While a single brim may only use a few grams of plastic, across hundreds of prints, the cost and environmental impact of this waste become measurable.
Strategic Implementation
The decision to use a brim should be a calculated one based on the model’s footprint. If a part has a large, flat base that already covers a significant portion of the bed, a brim is usually redundant. In fact, using one on a large, flat surface can sometimes cause the part to pull *too* hard on the bed, leading to different types of deformation.
Engineers also warn against using brims on interlocking parts or puzzle-like designs. If the bottom layers feature tight tolerances or moving components, the brim can fuse with these elements, effectively welding the parts together and ruining the functionality of the print. In these scenarios, a carefully calibrated bed level and the use of adhesives—such as glue sticks or hairspray—are often better alternatives than adding more plastic to the perimeter.